
Cookiecutter.com Ramblings
Making memories one cookie at a time!
Cupcake toppers and more
Tammy • September 9, 2015
Today may be a short and sweet blog post. Sometimes that is all you need to convey your thought or idea.
A couple of weeks ago, I got an email from Wilton. I like to sign up for a lot of recipes and ideas. It gives me plenty of ideas to then share with you.
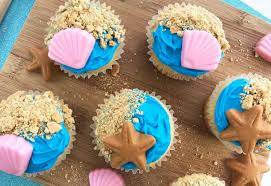
In this Wilton email, was an idea/recipe for Sea Life Cupcakes.
Are these the prettiest
cupcakes you have ever seen? I think I would like to work at Wilton and be their taste tester :)
Back to the subject at hand- All summer long we have been selling ooodles of these Chocolate molds. Hundreds of them in fact. We could barely keep up with the demand!
A couple of times I would go on Pinterest
and look around to see what people are using them for. One of the cutest and earliest ideas I found was this cute party treat idea.
This idea came from makeandtakes. If you are a parent of a toddler, you will love
this site. All kinds of fun and interactive ideas to keep you and your toddler busy. I can see preschool teachers loving
this site as well!
Back in July, I shared the idea of an Under the Sea Party using this party treat idea. You can get inspired with that post here.
So it's now September and these sea creature
chocolate molds are still selling. I knew there had to be more. Coming back to the present, I read and watch the video that Wilton puts out to explain how to make these Sea Life Cupcakes. It looks good and seems pretty easy. Wilton was using their own Ready-to-use decorator icing and their own fondant & gum paste mold. You may not want to use their decorator icing and you may want to use a chocolate mold
instead?
After I watched the video, I always like to go down to the end of the recipe/idea page and read the comments. What I found was many people were not having success using the ready made icing. You can read the comments on your own, but know
that I have an alternative idea that was used in the Party Treat Idea mentioned at the very beginning of this post. The creative genius that shared that idea simply used candy melts in the chocolate molds. I know a lot of people that use candy melts successfully all the time. You probably do too?
Here's the plan for you-
1. Make your cupcakes
2. Use candy melts in the chocolate molds
to make pre-formed cupcake toppers.
3. Serve at party and impress everyone there!
The idea that really prompted this post was the idea for a baby shower.
How cute would it be to make cupcakes with these cute baby ducks
as a cupcake topper? Using yellow candy melts.
Christmas cupcakes would be perfect with Christmas
themed chocolate molds.
Some days, I wish I had the time to make my own test kitchen and try all these fun ideas out.
Would you let me know if you try this out? I would love to see your work and give you a virtual high five. I would also like to share your pictures on our Facebook
page.
We would love for you to connect with us on any of our social media channels!
Happy September~ Tammy
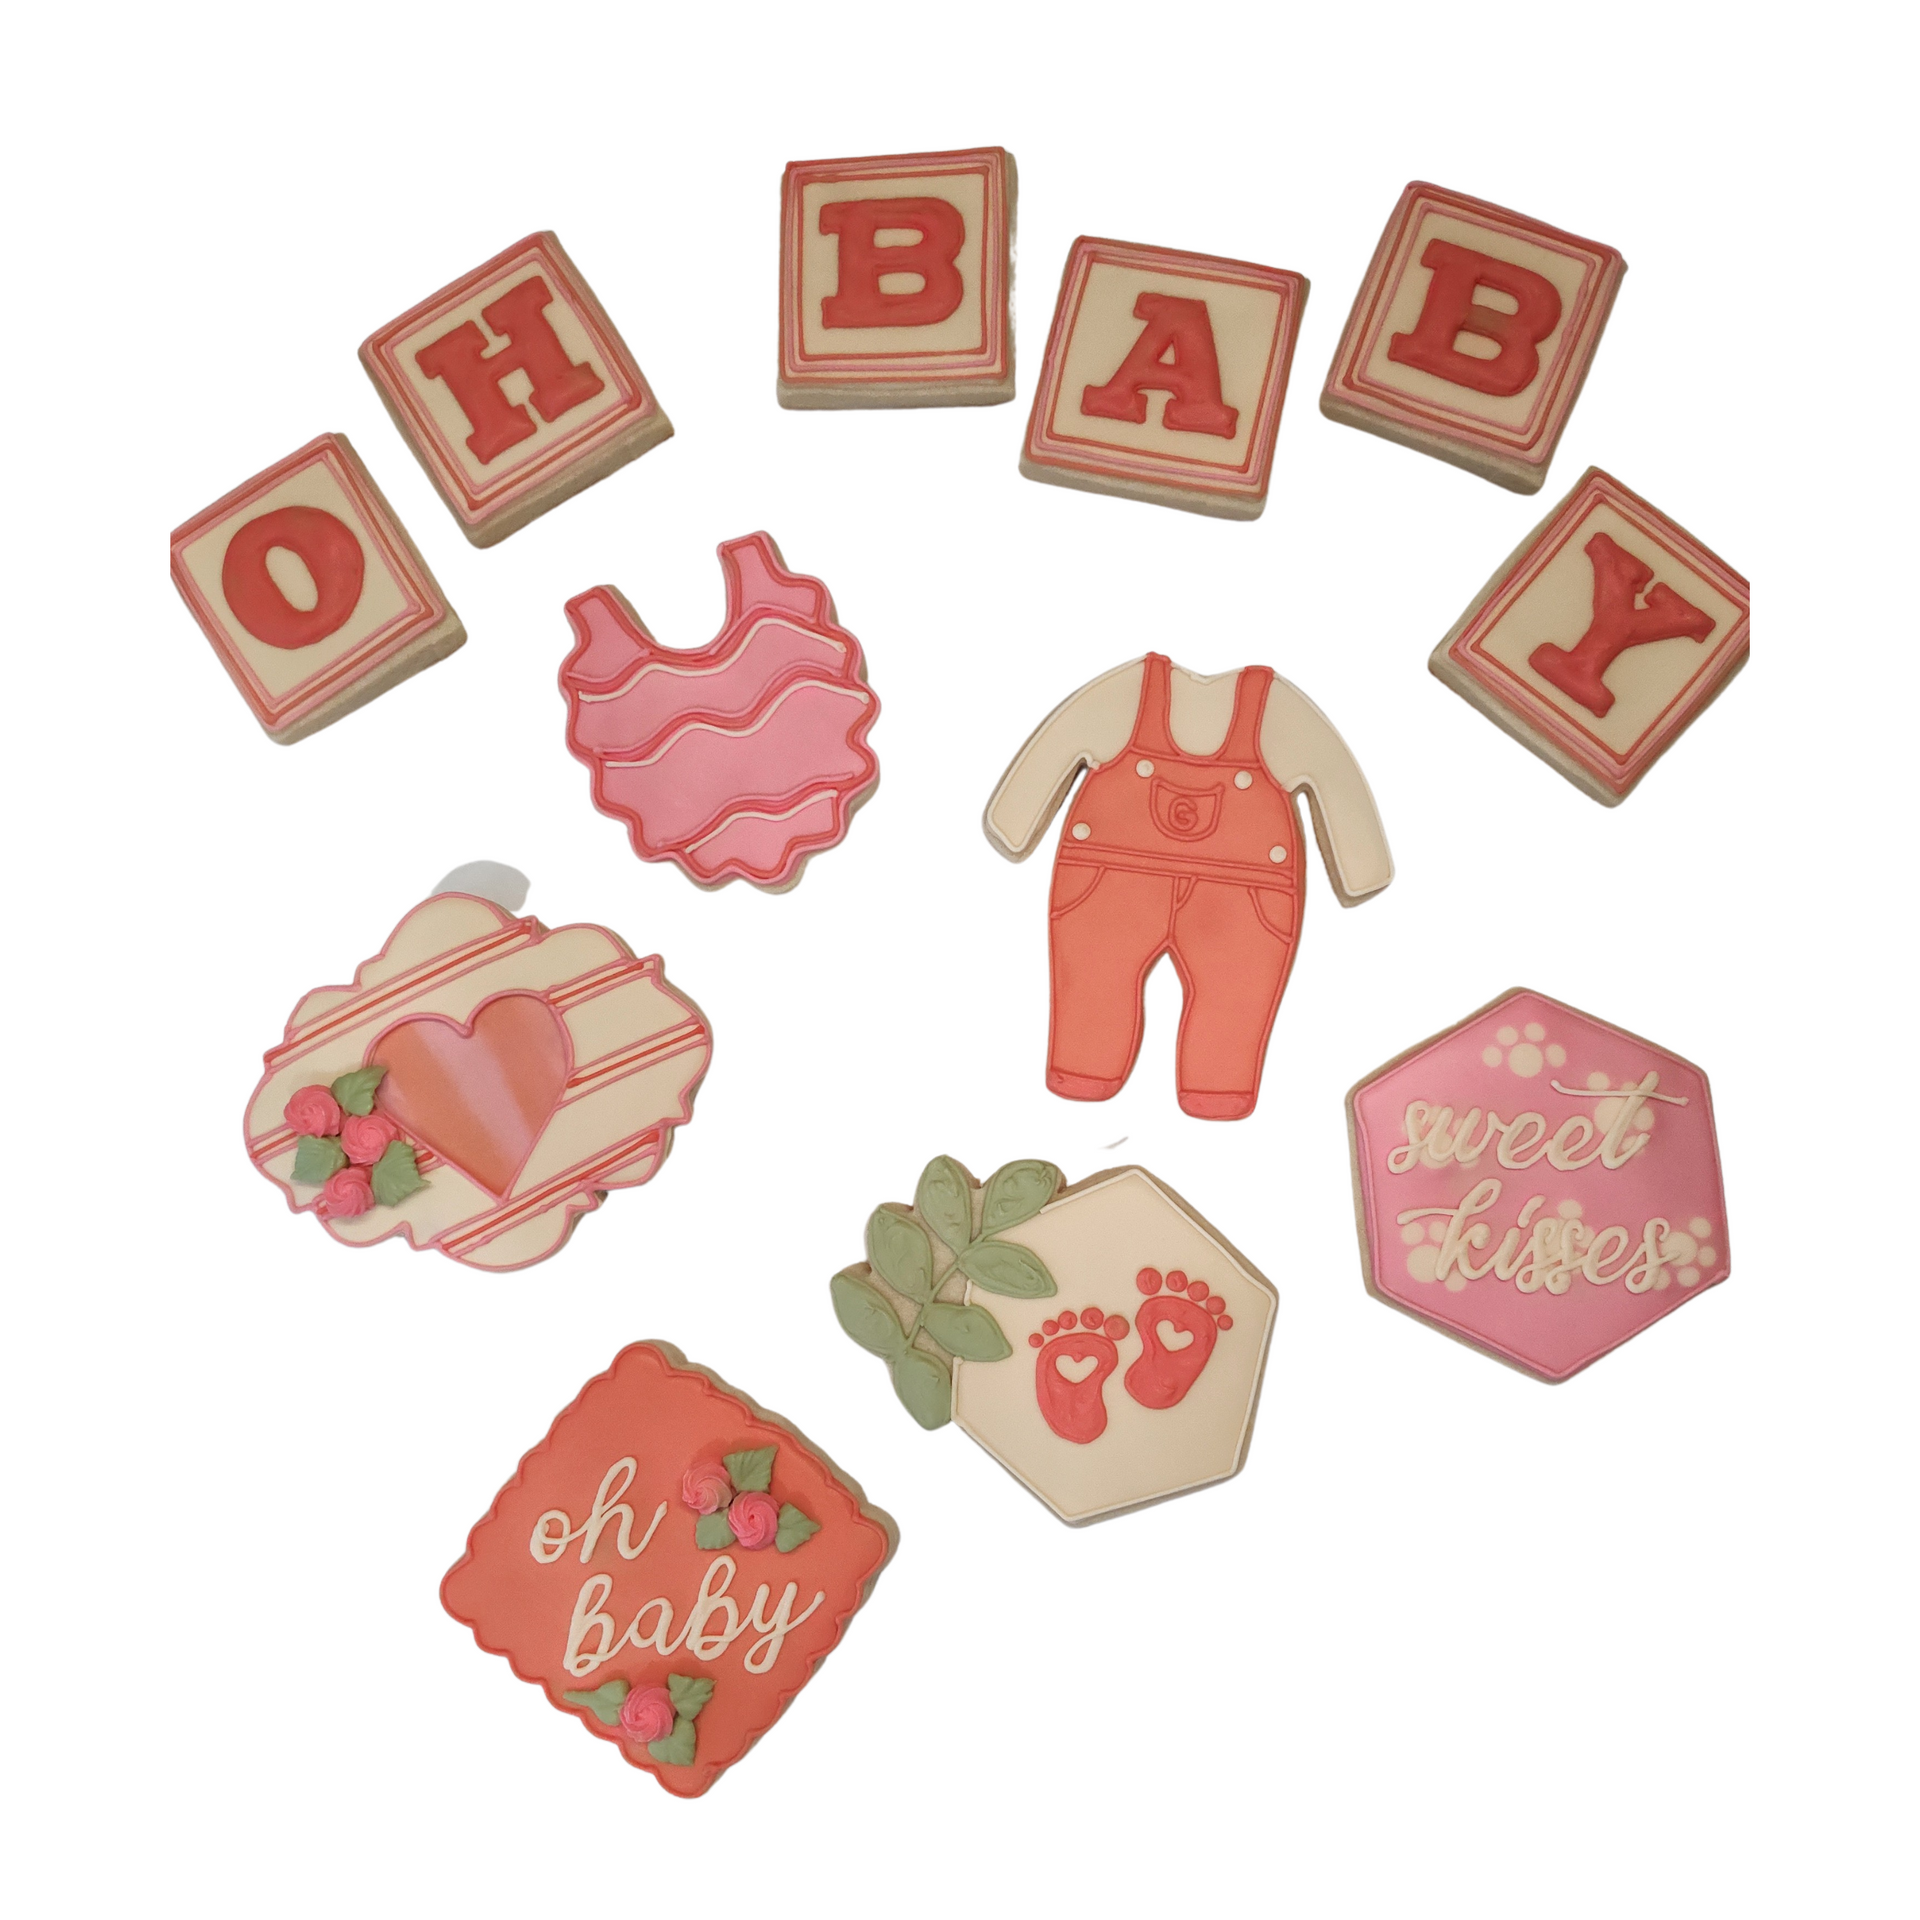
What's cuter than baby shower cookies?

This tells the story on how we began selling cookie cutters.
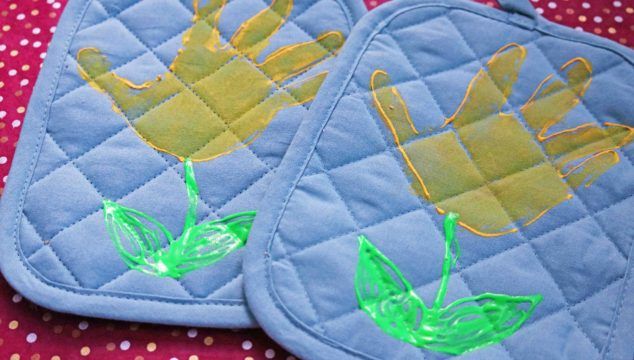
Dear Cookie Friends: Hello! I hope everyone is staying warm, especially if you are experiencing the winter weather as we are here in the Midwest. As December speeds along, that usually means the school aged children will soon be out of school for a few weeks. Trapped inside the warm comforts of your house without any signs of homework means lots and lots of, "Mom, I'm bored!" To avoid hearing this statement from your children, it is nice to come up with some activities to keep those kiddos preoccupied. At least that is what happened at our house during those years that now seem so far away! That sounds like a song, doesn't it? Hand Print or Designer Potholder This first activity would work great for pre-school through elementary school aged children. If you are needing a quick sentimental gift for someone, this fits the bill perfectly! Our church made these adorable potholders this December to give all the preschool families. The best part was, it was the kind of gift that will forever have a memory attached to it, since each preschooler individually crafted them with their own precious fingerprints! As a mom, I have always loved those kinds of gifts! And to finish it off, the pre-school teachers then attached a snowflake cookie cutter to the potholder. Here are the supplies you will need: 1. Potholder (Dollar Store) 2. Acrylic paints, as many colors as you want to use (craft store) 3. Slick puff paint if you want to write a name at top of potholder (craft store) 4. Small foam brush (craft store) 5. Fingers or the whole hand to make print (your house) 6. Newspaper to put down on the table as you work on the project 7. Baby wipes for hands or feet after done with each print Directions: 1. First, if your potholder has a little loop on it, be sure to put it on the top in case the person who receives the gift wants to hang it. Paint the hand (or foot) using the foam brush, then press on the pot holder. You will use less paint, get the paint on evenly, and experience less of a mess by doing it this way. If you are quick, you can get a couple of prints done before you should wipe off the paint. Cleaning the is not too bad as long as you don't leave it on for too long. After paint is on the hand, take the hand, press down nice and firm, then lift straight up. Let that dry just a bit and then you can go back and write the name and age, or whatever you like. Be sure to leave the pot holder flat to dry. A cute, personal and inexpensive gift to give grandma! You can even attach a cookie cutter to finish it off! Find the snowflakes here.