
Blog Layout
Cookiecutter.com Ramblings
Making memories one cookie at a time!
Fourth of July
Tammy • Jun 26, 2015

A lot of my favorite things revolve around food! Is anyone with me on that? It especially seems as though that is especially true for holidays.
In today’s post, I will share a few ways I use cookie cutters during the Fourth of July.
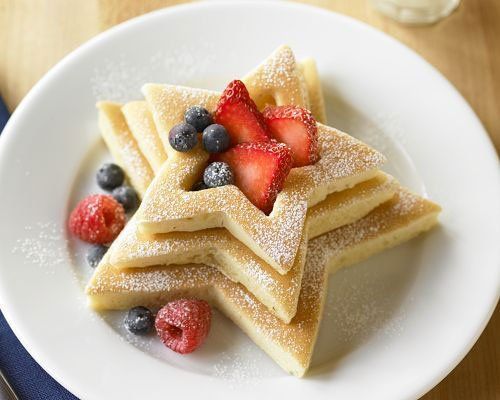
Breakfast would start out with star shaped pancakes! This would get me prepared to celebrate all things Patriotic.
I would probably add some strawberries and blueberries on top as you can see in this picture.
f my children were 4 & 6 again, I would plan on making sandwiches like this picture.
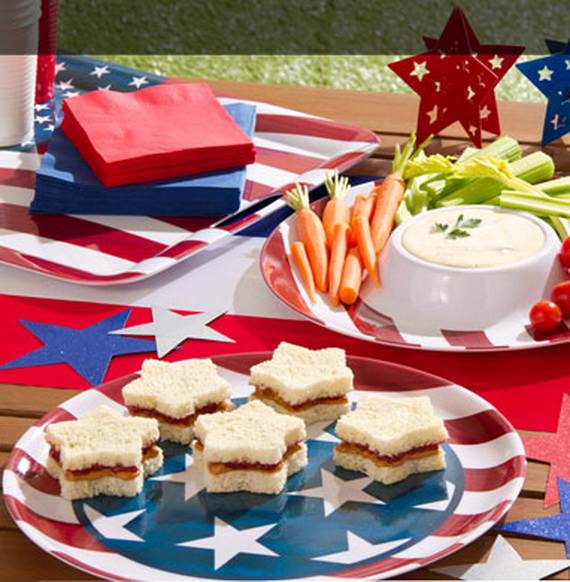
If I did it today, when they are 17 & 19, they may judge me and wonder what’s up :/ I kind of like the sandwich on a stick idea too! I use to cut cheese slices like this. Super fun and easy.
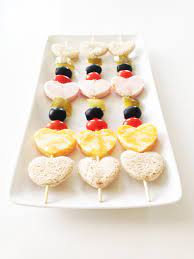
Now I would have to make too many of these sandwich on a stick to feed my two big kids. Sigh....
Fruit is another great food to cut with cookie cutters.
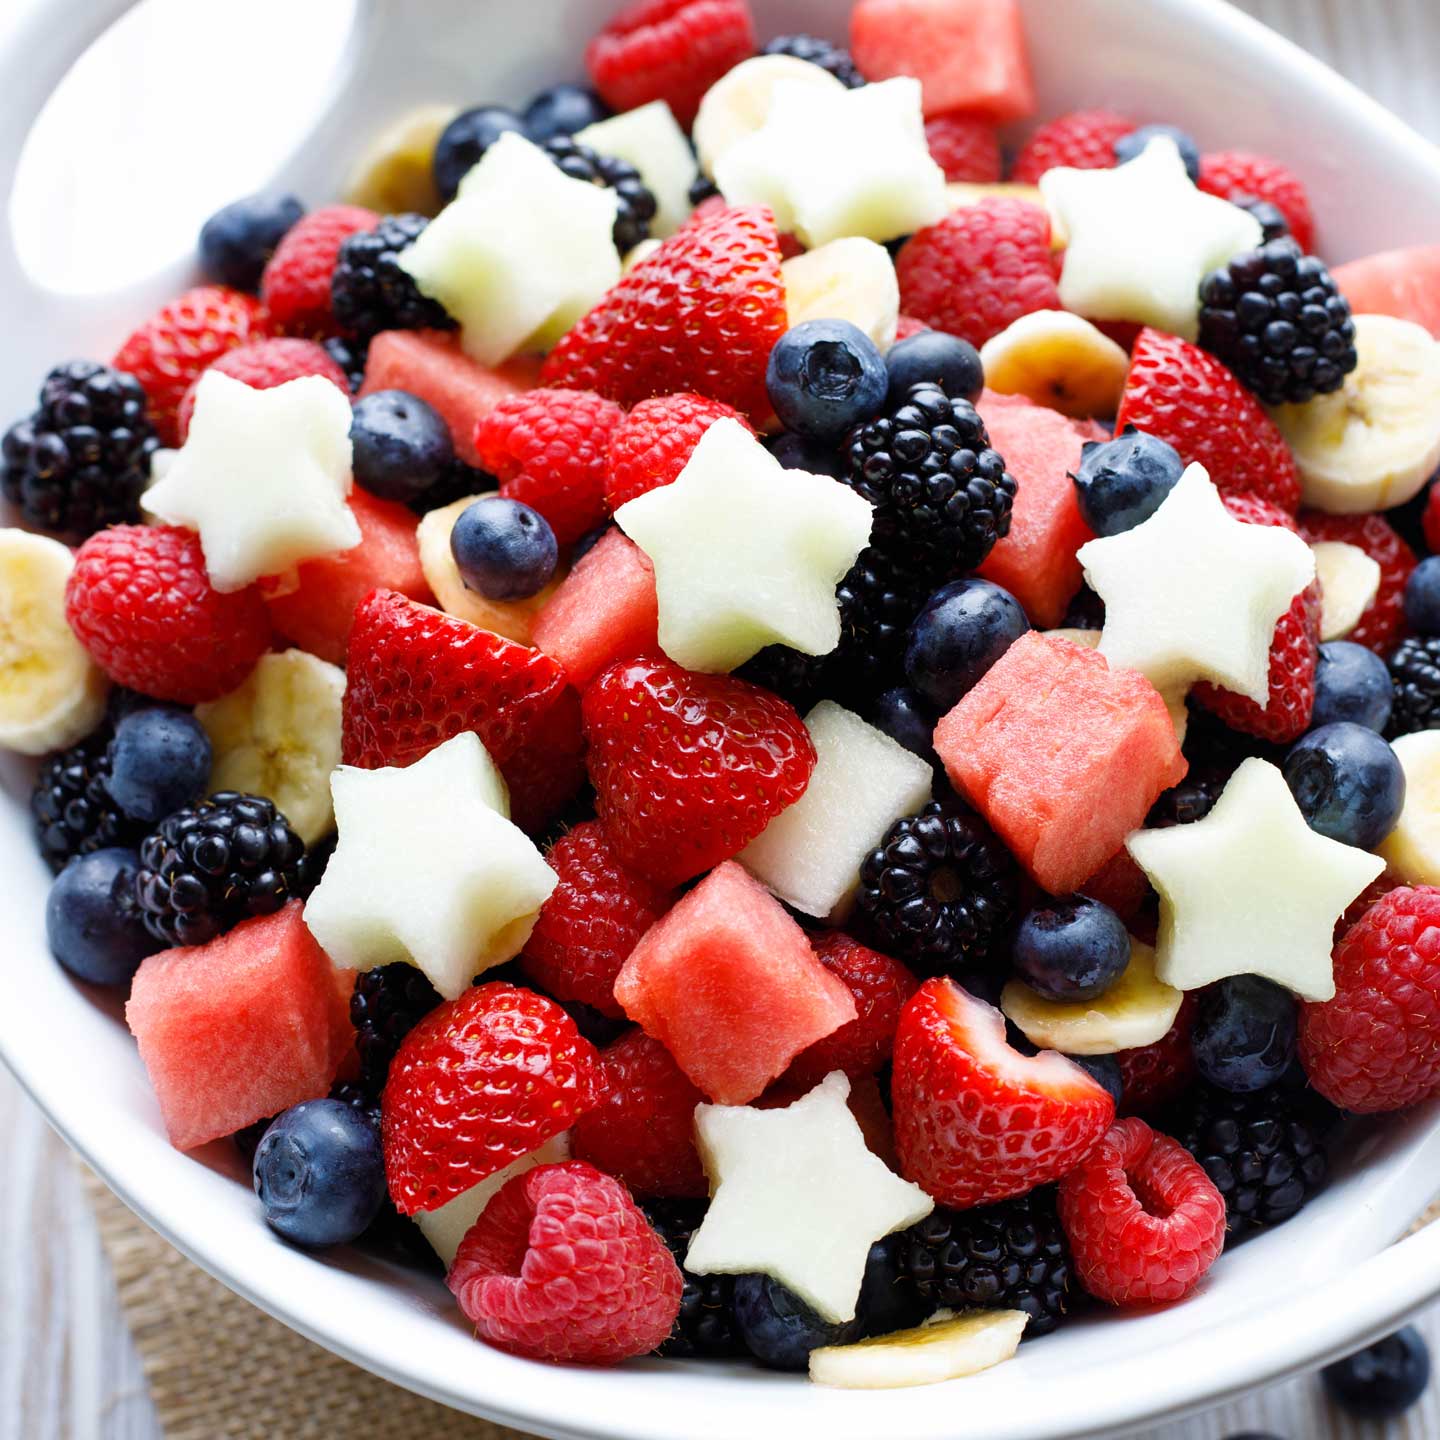
This is especially fun for parties..aka Fourth of July! Just cut your watermelon in 1 inch slices, then take your star cookie cutter and cut away. It looks super impressive and doesn’t really take that long. Go ahead, impress your friends :)
Moving on to desserts, I have to say that sugar cookies and Fourth of July just go together. I remember years ago, my friend Laurie brought some sugar cookies to our Fourth of July party. They were gone as soon as they hit the table. They can be very simple as Zoe Francois demonstrates in this picture.
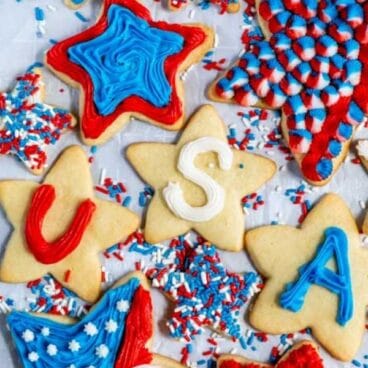
Or you can go all out like this cookie idea from beeinourbonnet.com

Yummy and Beautiful!
Remember you don’t have to get fancy. Just make some cut out cookies and use a simple buttercream icing. Just have fun! Shapes to consider: stars, flags and eagles.
If you do not have any of these shapes, just use a round
cutter. Just make some memories.
That’s all I have for today. I hope each one of you have a blessed Fourth of July. Stay safe, have fun and make memories.
I would love to see what you do for Fourth of July! Feel free to share on our social media pages and tag us!
Come visit us soon at www.cookiecutter.com
~Tammy
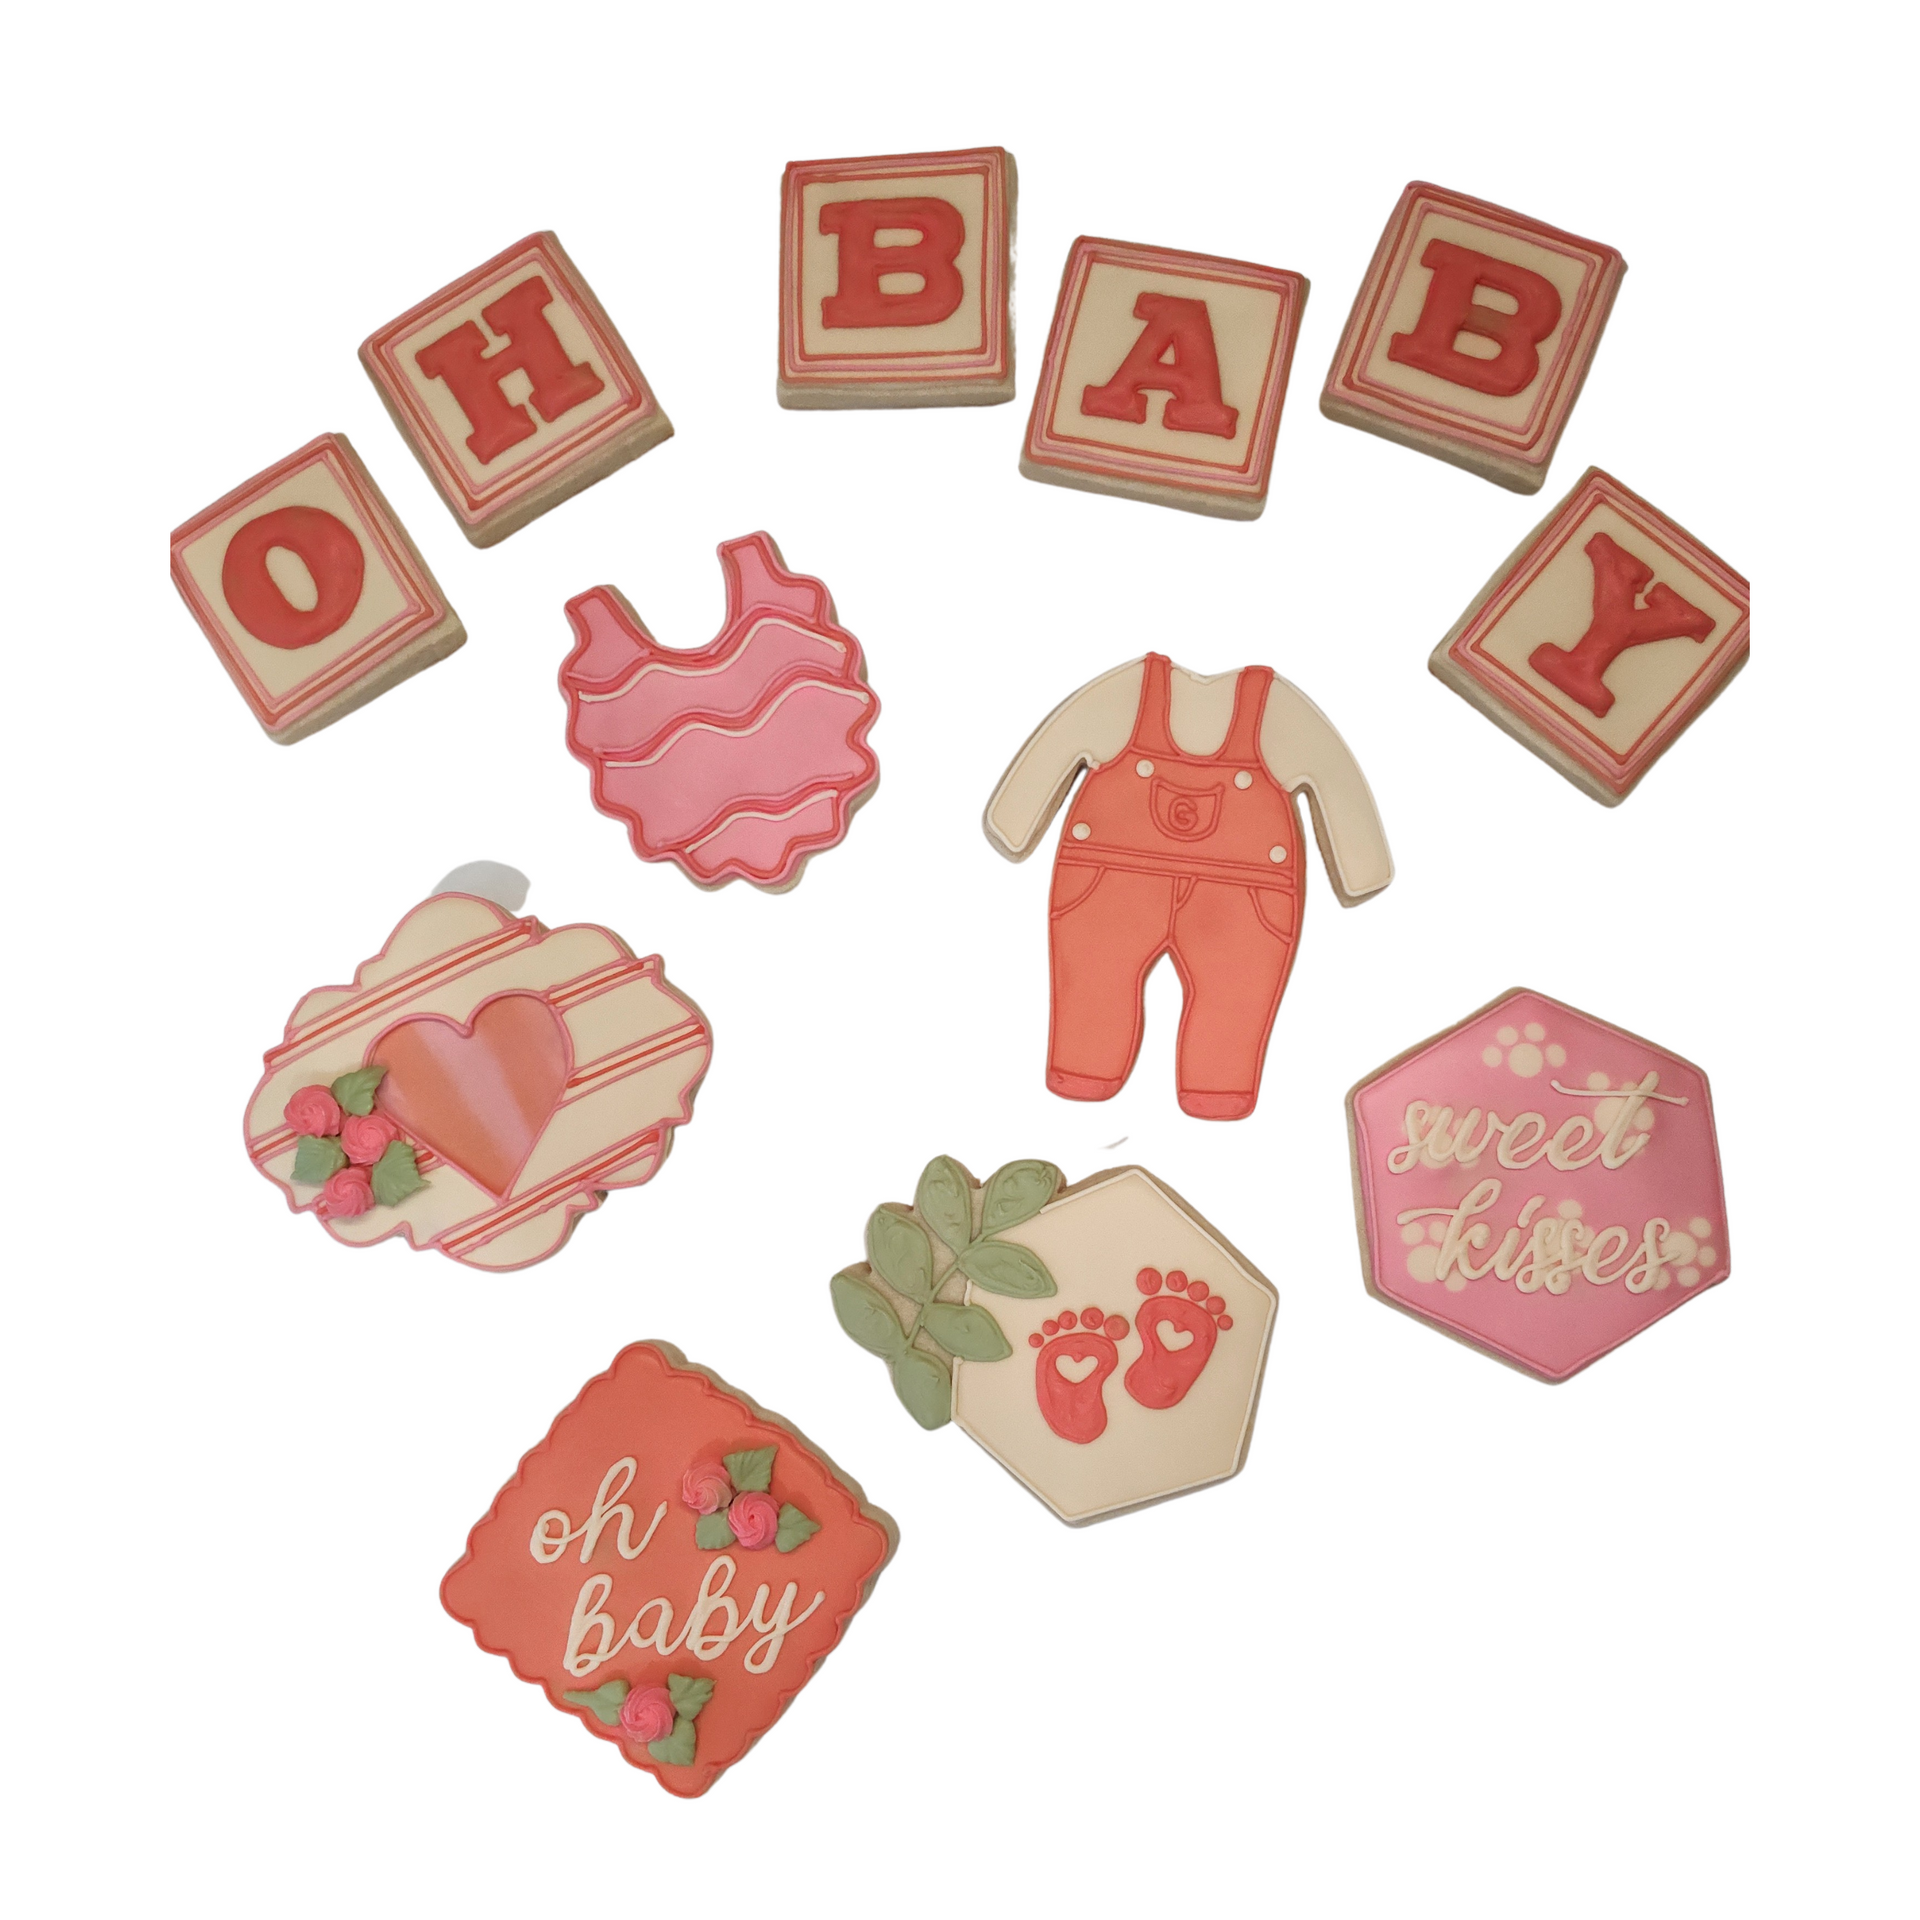
What's cuter than baby shower cookies?

This tells the story on how we began selling cookie cutters.
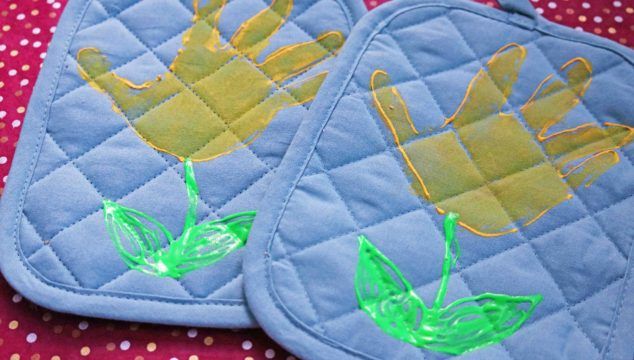
Dear Cookie Friends: Hello! I hope everyone is staying warm, especially if you are experiencing the winter weather as we are here in the Midwest. As December speeds along, that usually means the school aged children will soon be out of school for a few weeks. Trapped inside the warm comforts of your house without any signs of homework means lots and lots of, "Mom, I'm bored!" To avoid hearing this statement from your children, it is nice to come up with some activities to keep those kiddos preoccupied. At least that is what happened at our house during those years that now seem so far away! That sounds like a song, doesn't it? Hand Print or Designer Potholder This first activity would work great for pre-school through elementary school aged children. If you are needing a quick sentimental gift for someone, this fits the bill perfectly! Our church made these adorable potholders this December to give all the preschool families. The best part was, it was the kind of gift that will forever have a memory attached to it, since each preschooler individually crafted them with their own precious fingerprints! As a mom, I have always loved those kinds of gifts! And to finish it off, the pre-school teachers then attached a snowflake cookie cutter to the potholder. Here are the supplies you will need: 1. Potholder (Dollar Store) 2. Acrylic paints, as many colors as you want to use (craft store) 3. Slick puff paint if you want to write a name at top of potholder (craft store) 4. Small foam brush (craft store) 5. Fingers or the whole hand to make print (your house) 6. Newspaper to put down on the table as you work on the project 7. Baby wipes for hands or feet after done with each print Directions: 1. First, if your potholder has a little loop on it, be sure to put it on the top in case the person who receives the gift wants to hang it. Paint the hand (or foot) using the foam brush, then press on the pot holder. You will use less paint, get the paint on evenly, and experience less of a mess by doing it this way. If you are quick, you can get a couple of prints done before you should wipe off the paint. Cleaning the is not too bad as long as you don't leave it on for too long. After paint is on the hand, take the hand, press down nice and firm, then lift straight up. Let that dry just a bit and then you can go back and write the name and age, or whatever you like. Be sure to leave the pot holder flat to dry. A cute, personal and inexpensive gift to give grandma! You can even attach a cookie cutter to finish it off! Find the snowflakes here.

