
Cookiecutter.com Ramblings
Making memories one cookie at a time!
Ordinary Mom Cookies
Tammy • July 28, 2016
Hello!
Tammy here…I'm trying to get organized for the Fall and figuring out what to put on our Facebook page as well as our blog. I started thinking and decided that the best place to start with any season is the beginning! I know that many of you have been decorating cookies for as long as you can remember. That makes me happy :) There are some of our cookie friends who are just getting started. That is where I want to start~ at the beginning.
Everyone needs to find their favorite recipe. Maybe something that your Mom or Grandma passed down to you? Here
are some recipes that we have on our website if you need one.
My
favorite sugar cookie recipe is called OTBP Sugar Cookie recipe. You can find it here.
Does anyone know what OTBP
stands for? Off the Beaten Path.
That was our business name when we first started our business. Believe it or not, the wonderful world wide web was not around for the general public in 1993!
I know how shocking that must be for some of you. It seems like we have always had Google and the likes.Okay, back on track---> Occasionally I will use another recipe, but lately, I find myself going back to the one my MIL Nancy gave me way back when we started this business. So I’ve been using this one for 23 years! Now that I think about it, I must have been like 10 when I started. Lol. I have changed it up a bit because I have fallen in love with the almond flavor in a cookie. My most important tip is CHILL THE DOUGH.
Warm dough is not your friend. I take out a ball of dough to work with and then put the remaining dough in fridge until I need it. Trust me on this :)
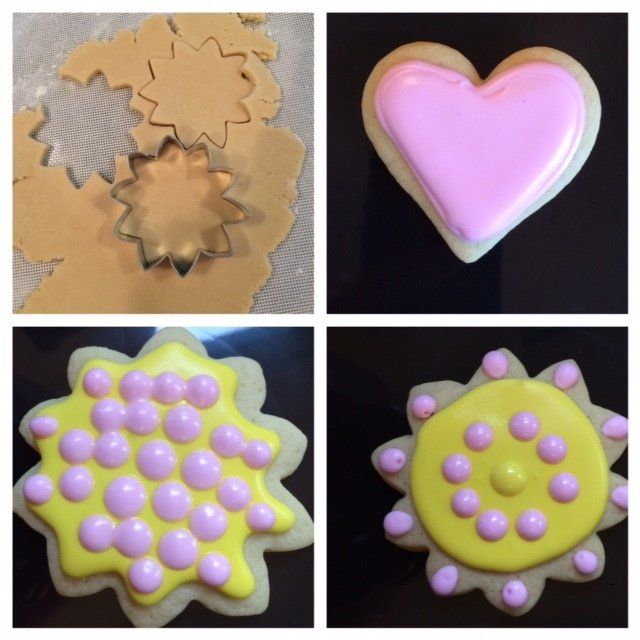
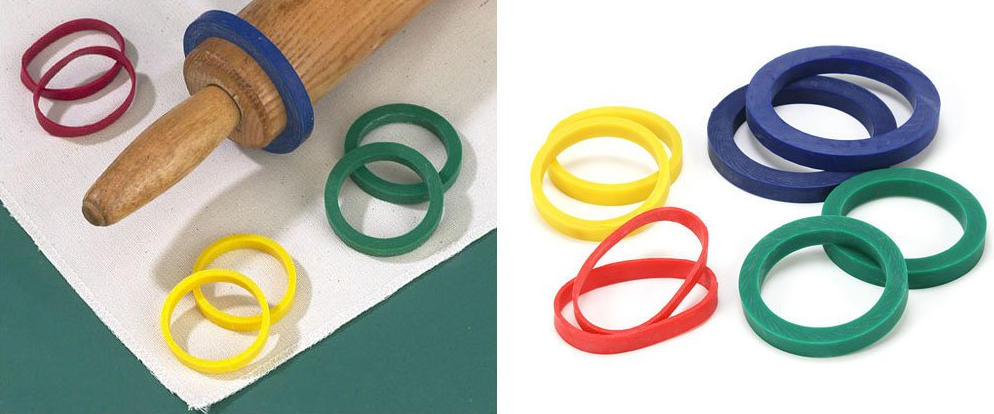
Tools
- I always use my evendough bands. Usually I use the green ones, but when I want the cookie a little thicker, I go blue. I'm one of those people who can not cut a straight line if I had to. Basically I appreciate all the help I can get with rolling and cutting cookies.
- Last weekend I chose a simple flower. I have found that lately, I choose the easiest shape I can find that will satisfy the baking urge. Easy to me means I only decorate in one or two colors. Dots are my favorite of late! I don’t do writing on the cookies at all. Maybe someday? We'll see.
- I always pull out my @DoughEZ mat. It makes for less flour use and easier clean-up.
- Bowl of flour to sprinkle. Mainly from habit.
- Baking sheets~ I always use two. I do make sure it is completely cool before I start putting the newly cut-out cookies on it.
- Parchment paper~ If you don’t have a @DoughEZ mat, you will want parchment paper to put on top of your dough that you roll. Much less sticking that way. I also line my baking sheets with the parchment paper. I appreciate an easy clean-up.
- Cooling racks~ I pop my cookies on to cool as soon as I take them out of the oven. That keeps them from continuing to bake and cools down quickly so I can taste my handiwork.
Well, that's what I need to bake my cookies up! Next week I'll be giving your "ordinary mom" decorating tips. Stay tuned!
Keep making memories with cookies!
~Tammy
We would love to connect with you! Follow us on social media!
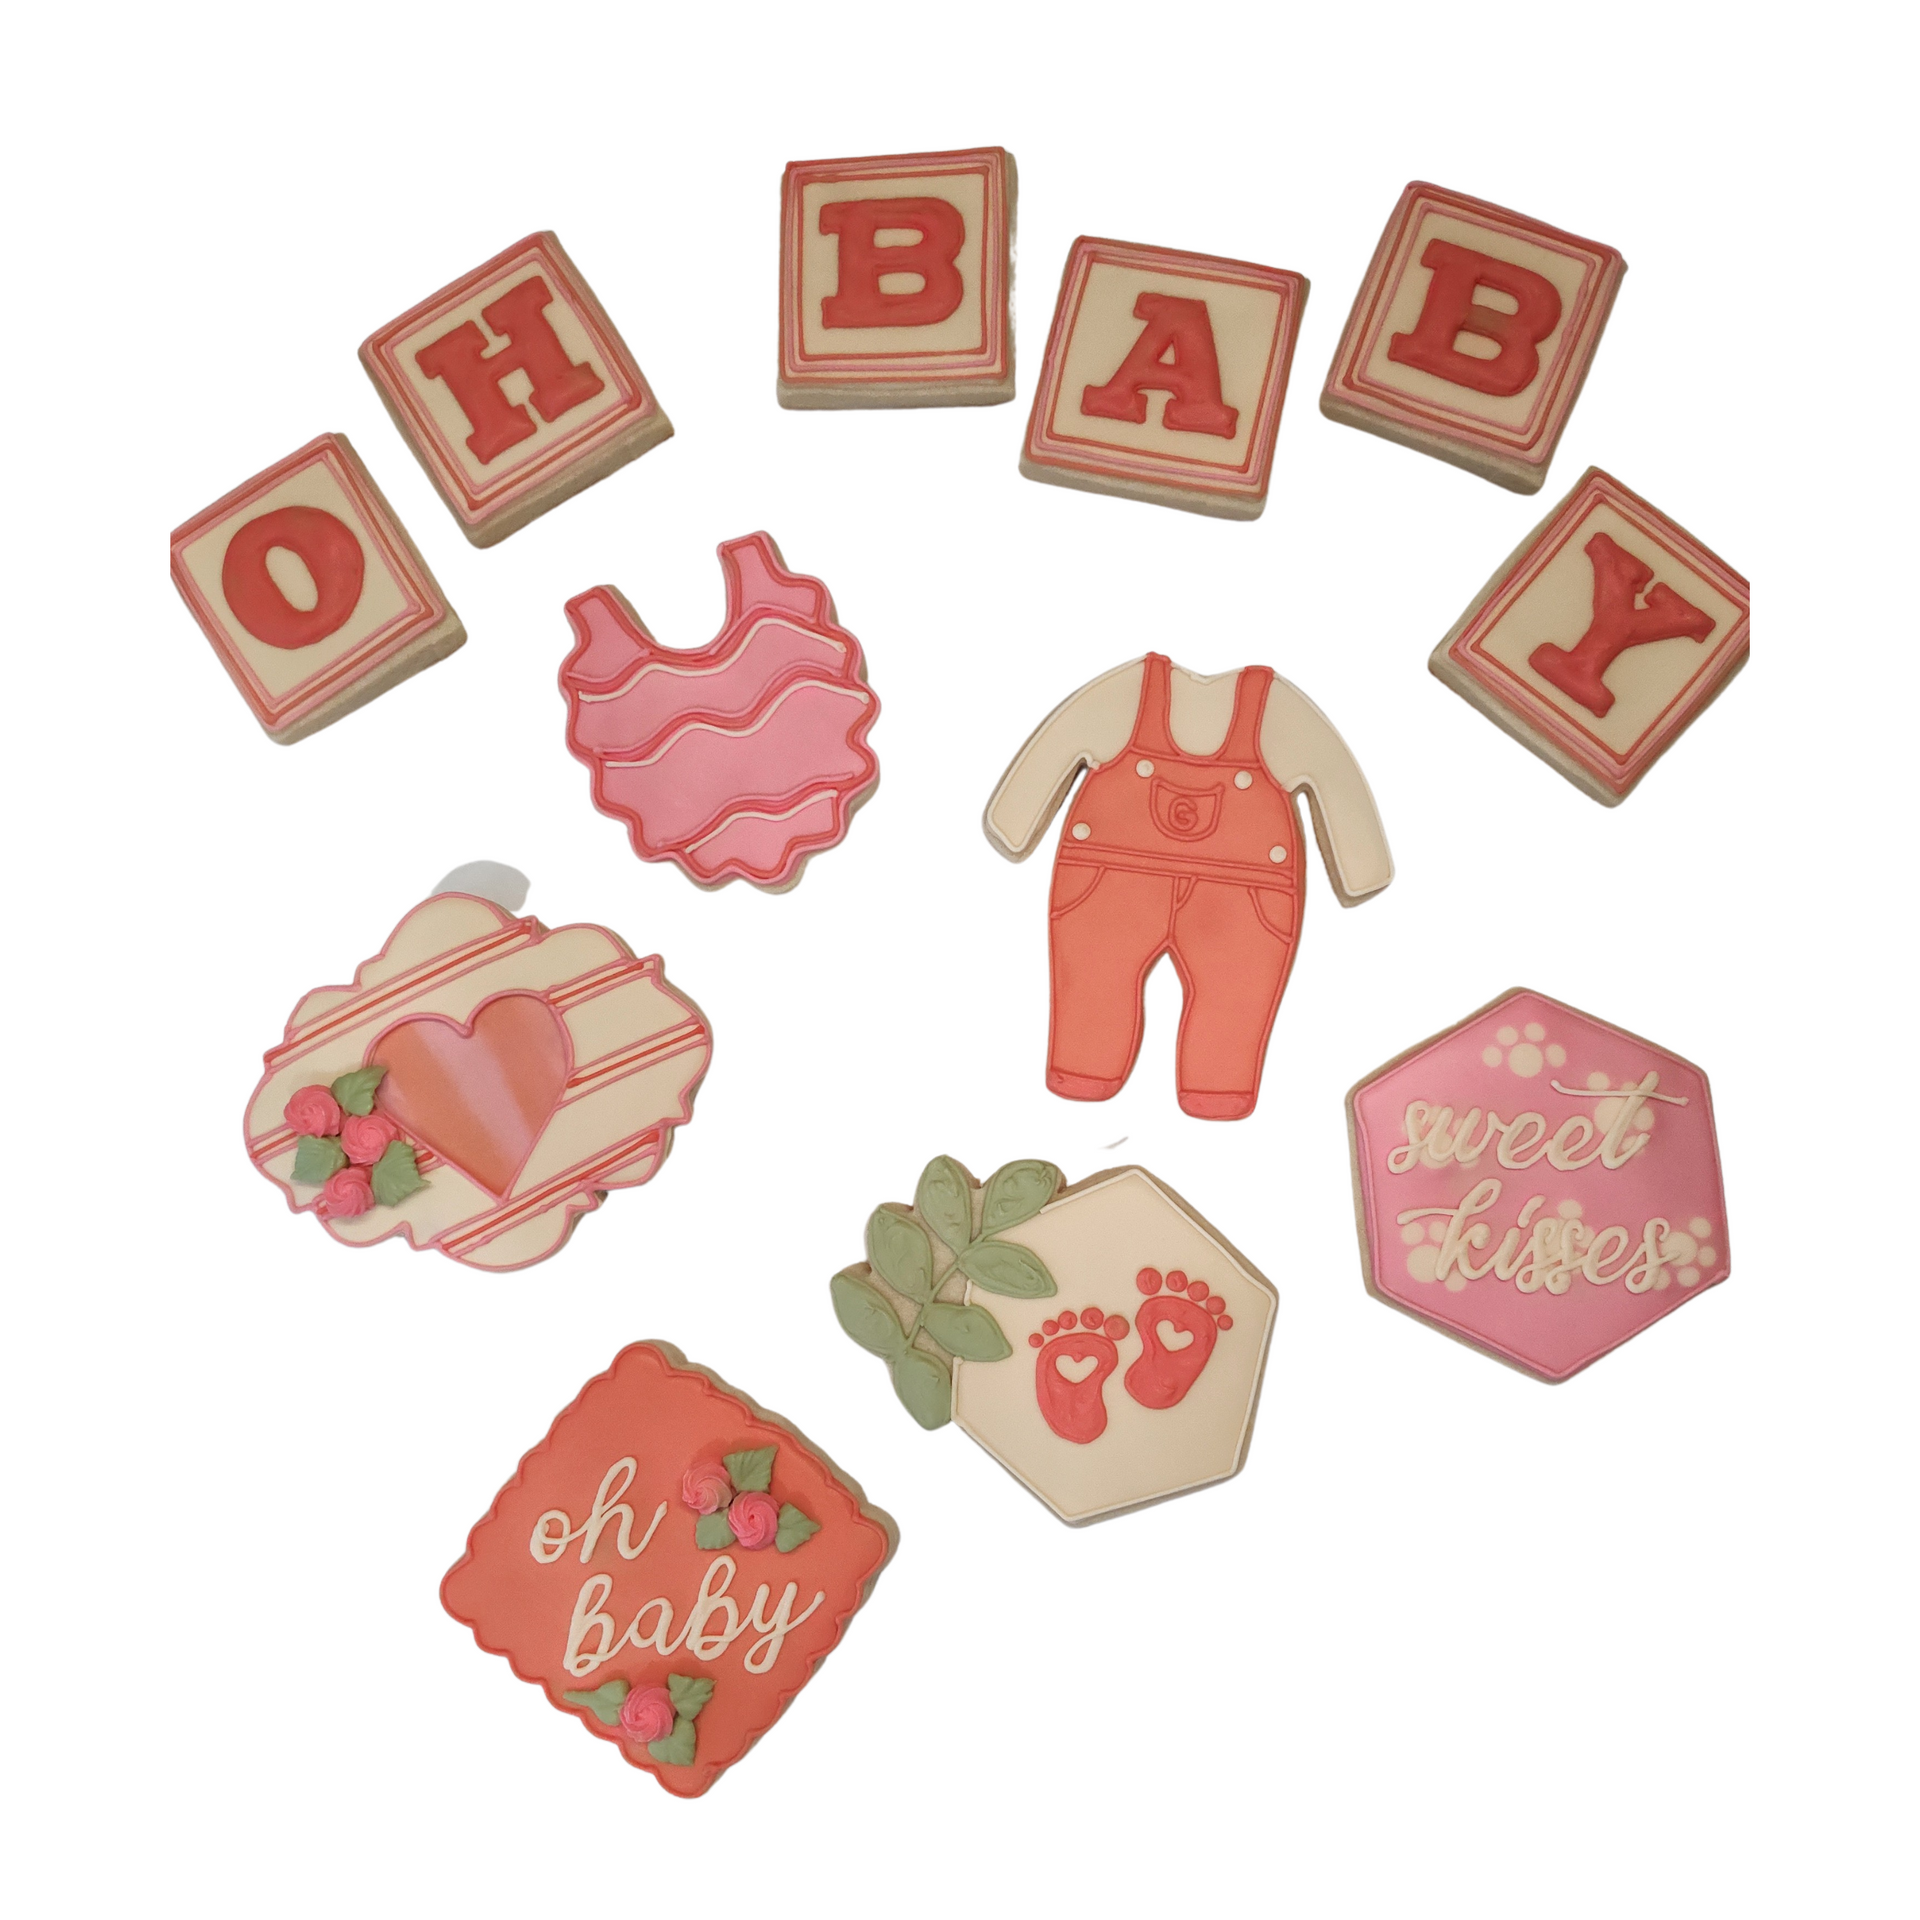
What's cuter than baby shower cookies?
This tells the story on how we began selling cookie cutters.
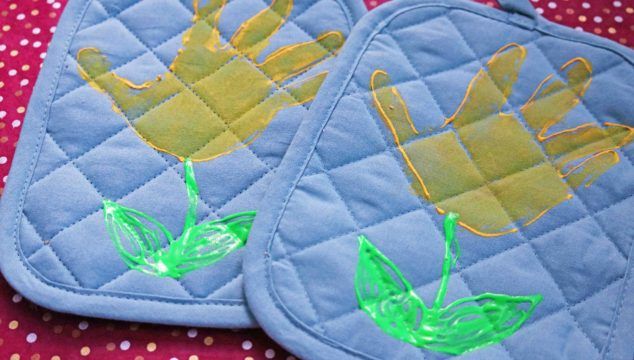
Dear Cookie Friends: Hello! I hope everyone is staying warm, especially if you are experiencing the winter weather as we are here in the Midwest. As December speeds along, that usually means the school aged children will soon be out of school for a few weeks. Trapped inside the warm comforts of your house without any signs of homework means lots and lots of, "Mom, I'm bored!" To avoid hearing this statement from your children, it is nice to come up with some activities to keep those kiddos preoccupied. At least that is what happened at our house during those years that now seem so far away! That sounds like a song, doesn't it? Hand Print or Designer Potholder This first activity would work great for pre-school through elementary school aged children. If you are needing a quick sentimental gift for someone, this fits the bill perfectly! Our church made these adorable potholders this December to give all the preschool families. The best part was, it was the kind of gift that will forever have a memory attached to it, since each preschooler individually crafted them with their own precious fingerprints! As a mom, I have always loved those kinds of gifts! And to finish it off, the pre-school teachers then attached a snowflake cookie cutter to the potholder. Here are the supplies you will need: 1. Potholder (Dollar Store) 2. Acrylic paints, as many colors as you want to use (craft store) 3. Slick puff paint if you want to write a name at top of potholder (craft store) 4. Small foam brush (craft store) 5. Fingers or the whole hand to make print (your house) 6. Newspaper to put down on the table as you work on the project 7. Baby wipes for hands or feet after done with each print Directions: 1. First, if your potholder has a little loop on it, be sure to put it on the top in case the person who receives the gift wants to hang it. Paint the hand (or foot) using the foam brush, then press on the pot holder. You will use less paint, get the paint on evenly, and experience less of a mess by doing it this way. If you are quick, you can get a couple of prints done before you should wipe off the paint. Cleaning the is not too bad as long as you don't leave it on for too long. After paint is on the hand, take the hand, press down nice and firm, then lift straight up. Let that dry just a bit and then you can go back and write the name and age, or whatever you like. Be sure to leave the pot holder flat to dry. A cute, personal and inexpensive gift to give grandma! You can even attach a cookie cutter to finish it off! Find the snowflakes here.