
Blog Layout
Cookiecutter.com Ramblings
Making memories one cookie at a time!
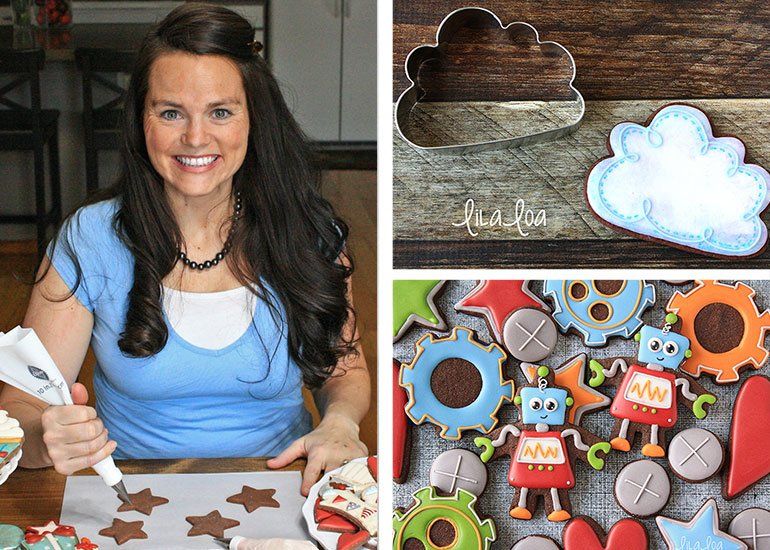
Tulip Cookie Tutorial by Georganne at LilaLoa!
Tammy • May 06, 2015

Good morning everyone! I am thrilled to have Georganne aka LilaLoa guest post for us today. She has came up with a tutorial on decorating our tulip. You will love learning how to make this pretty flower. Check out her blog
for many more amazing cookies and recipes.
"Hey guys! It’s Georganne from LilaLoa.
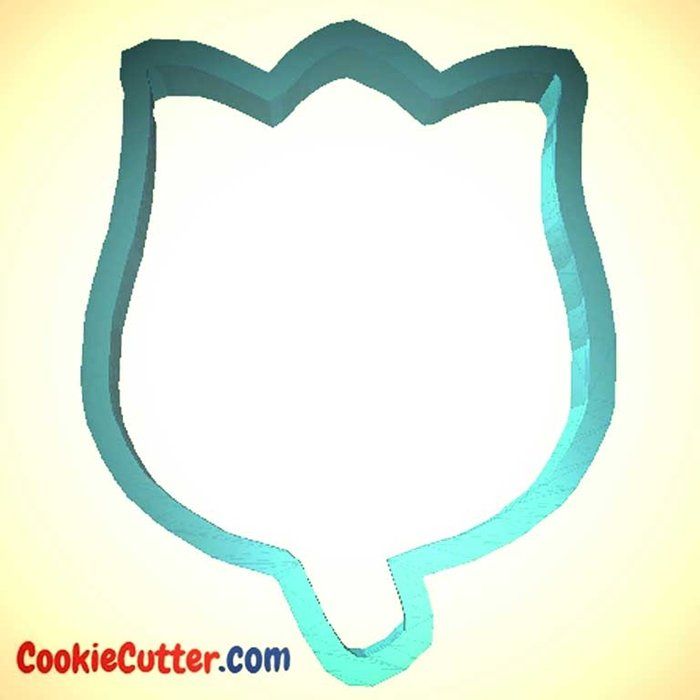
I make cookies nearly every day of my life. It’s what I do. Unlike laundry. Because cookies taste delicious and they love you for who you are and they never judge you with their piles of dirty judgment all stacked in the corner. Also…they’re just fun to make. Like these tulip cookies. Want to avoid laundry for at least another hour and make some with me? Grab your cutter HERE
and bake up some tulips first. Then meet me back here at 0800 hours. Or…whenever you feel like it really. Don’t let me tell you your business.
- With medium consistency pink icing and a #3 tip, outline and fill a vaguely petal shaped area covering most of the cookie and slightly off center. Add a second petal on the right edge of the cookie. Allow the icing to dry for at least 15 minutes.
- With the same pink icing add a second petal on the left side of the tulip. Grab some darker pink icing with another #3 tip and add another petal in the center behind the first one. Let it dry for 15 minutes.
- With the darker pink icing, fill in the back half of the two side petals.
- Pipe a squiggly line on the front of the center petal with thick dark pink icing and a #2 tip. Use medium consistency green icing and a #2 tip to pipe the stem. Let the cookie dry for 4-6 hours or overnight.
Let’s be honest. You could totally skip this step and call it a job well done. Unlike your laundry…I won’t judge you for your choices. But if you DO decide to paint up your cookie, you’ll be in good company. Paint some watered down burgundy food coloring (or brown if you didn’t use pink icing) and paint it in the cracks between all the petals. Also, shade in the area around the detail line on the front petal. Paint white along the edges of the petals as shown. Allow to dry completely before packaging.
And that’s it. Fantastic tulip cookies. You’re a natural. Don’t forget to come visit me at LilaLoa and show me your creations!"
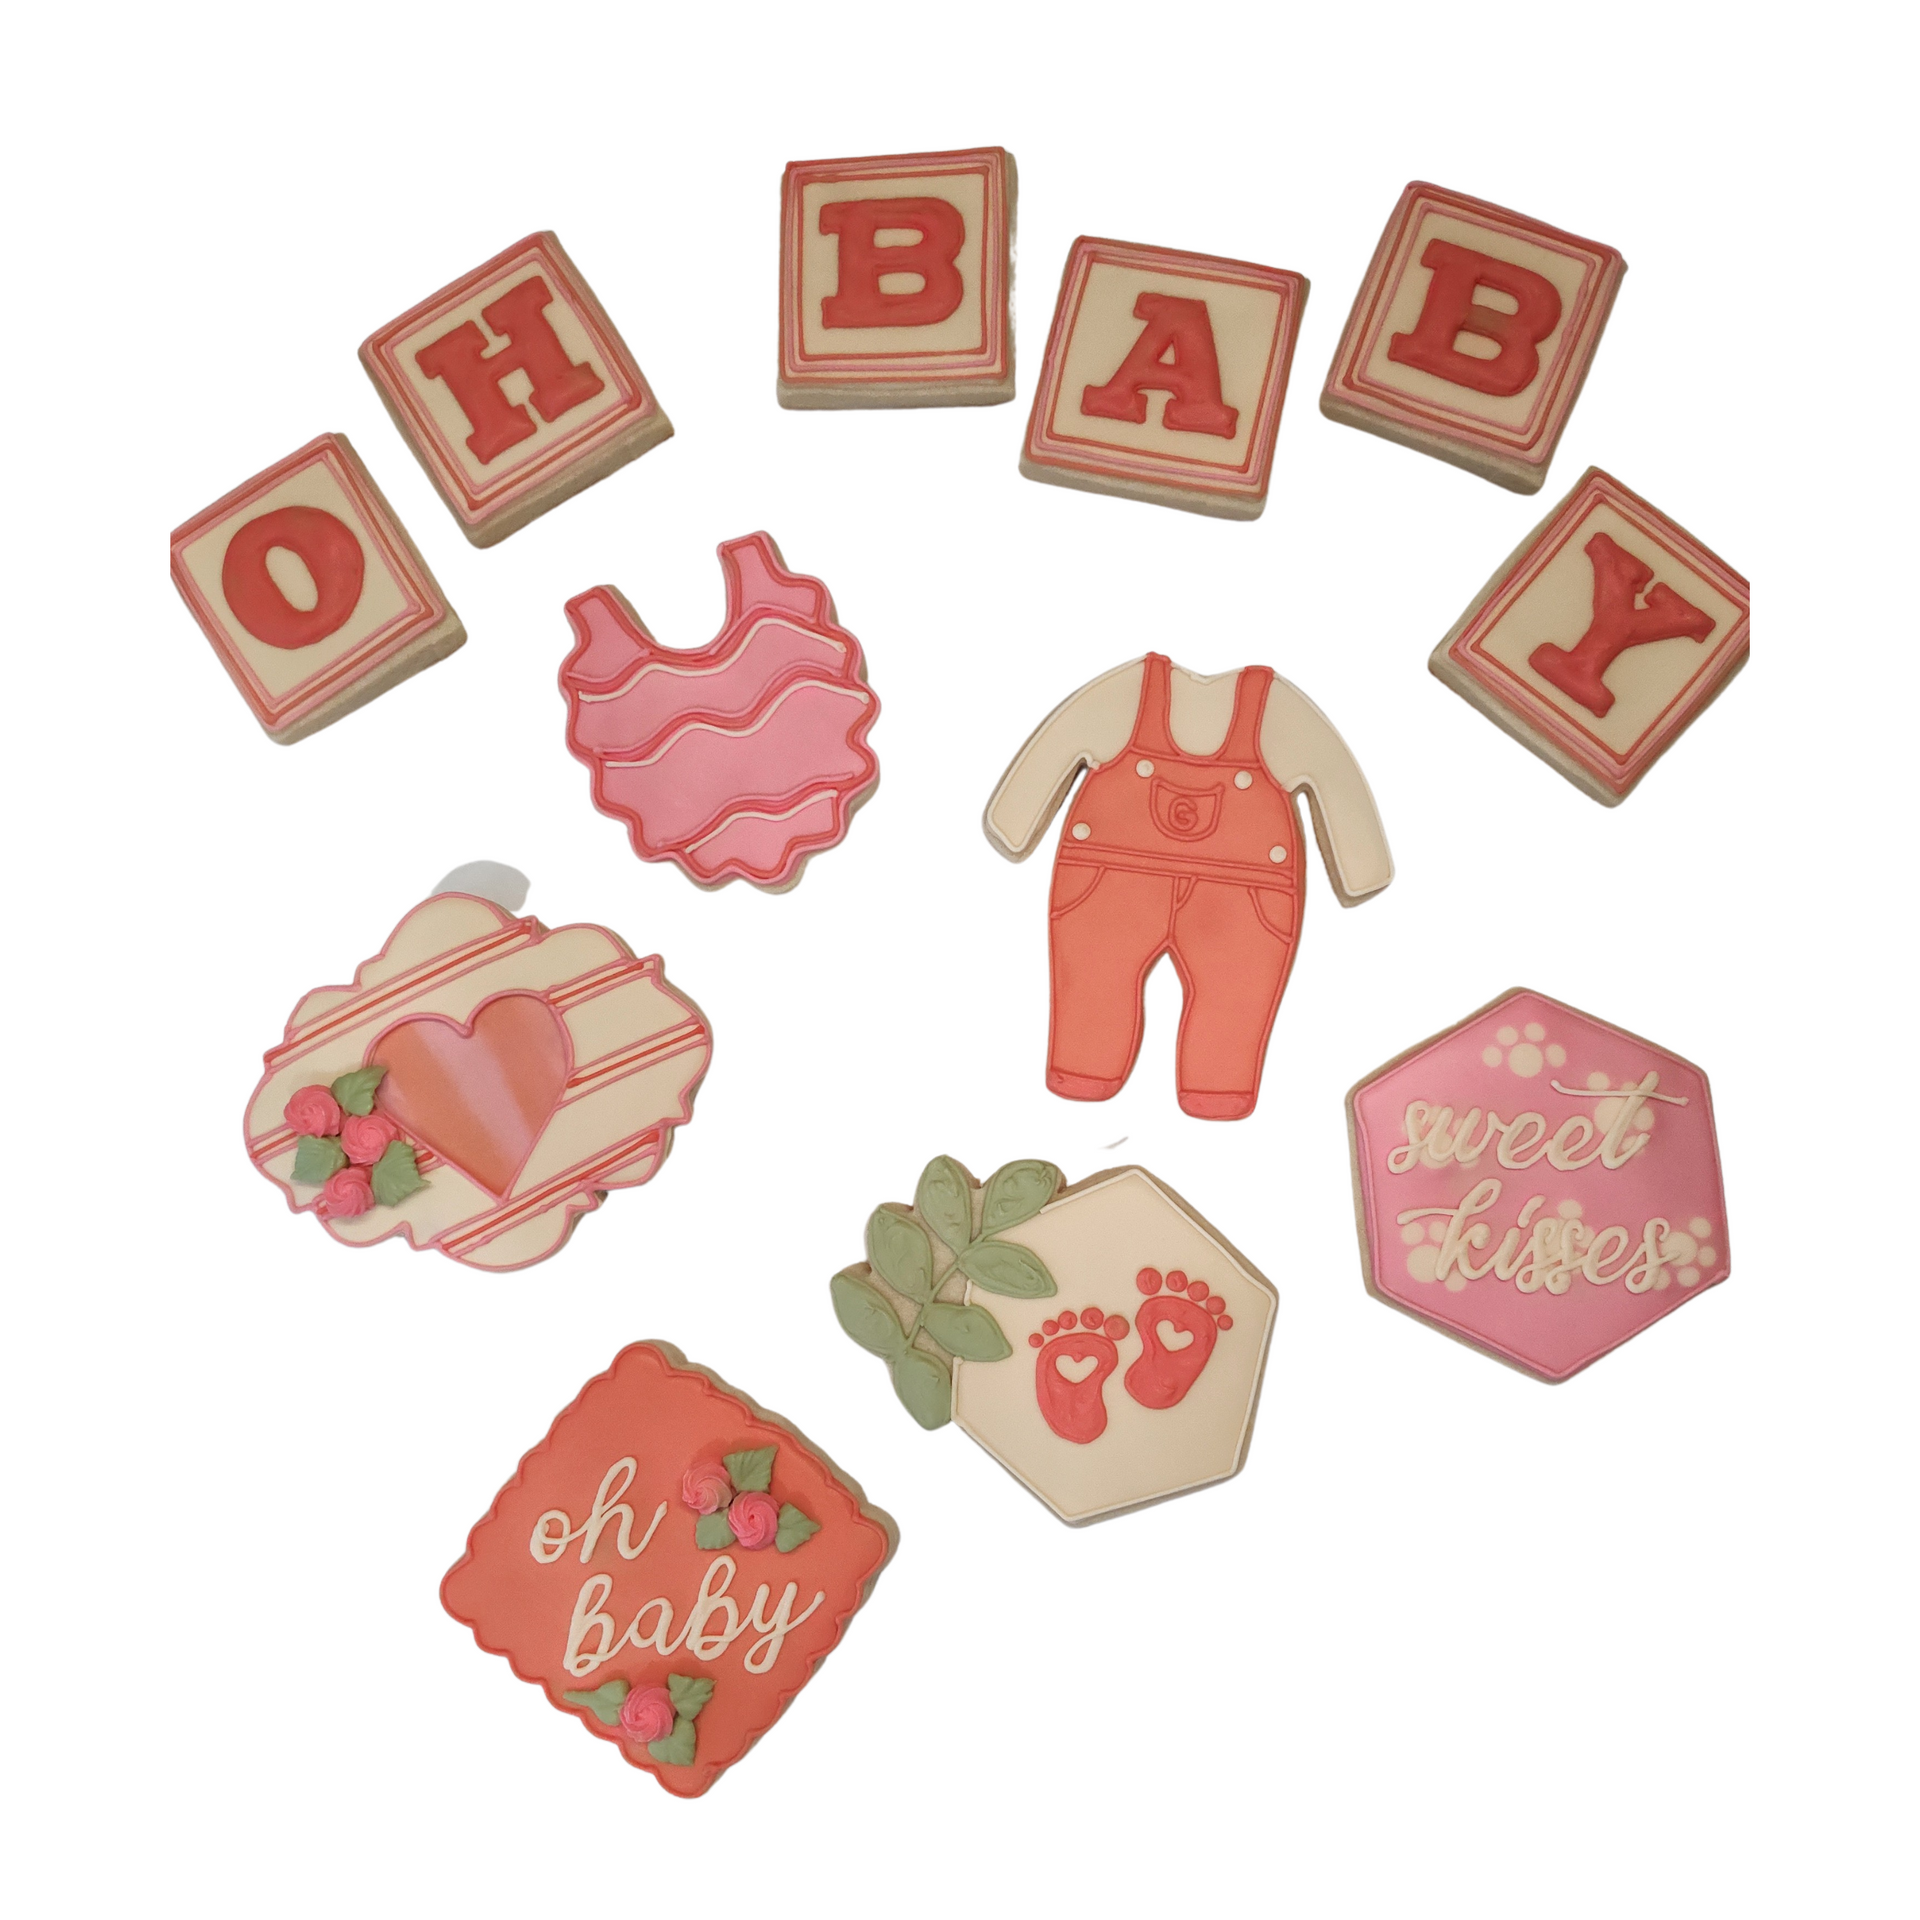
What's cuter than baby shower cookies?

This tells the story on how we began selling cookie cutters.
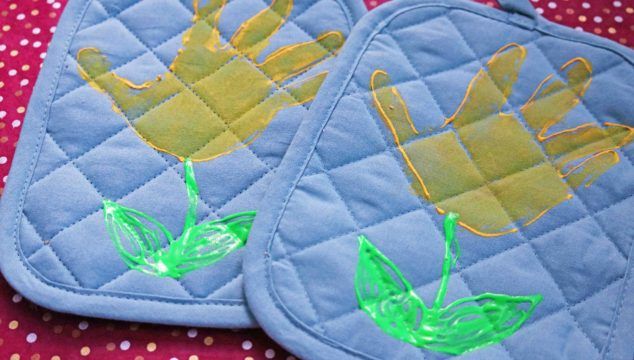
Dear Cookie Friends: Hello! I hope everyone is staying warm, especially if you are experiencing the winter weather as we are here in the Midwest. As December speeds along, that usually means the school aged children will soon be out of school for a few weeks. Trapped inside the warm comforts of your house without any signs of homework means lots and lots of, "Mom, I'm bored!" To avoid hearing this statement from your children, it is nice to come up with some activities to keep those kiddos preoccupied. At least that is what happened at our house during those years that now seem so far away! That sounds like a song, doesn't it? Hand Print or Designer Potholder This first activity would work great for pre-school through elementary school aged children. If you are needing a quick sentimental gift for someone, this fits the bill perfectly! Our church made these adorable potholders this December to give all the preschool families. The best part was, it was the kind of gift that will forever have a memory attached to it, since each preschooler individually crafted them with their own precious fingerprints! As a mom, I have always loved those kinds of gifts! And to finish it off, the pre-school teachers then attached a snowflake cookie cutter to the potholder. Here are the supplies you will need: 1. Potholder (Dollar Store) 2. Acrylic paints, as many colors as you want to use (craft store) 3. Slick puff paint if you want to write a name at top of potholder (craft store) 4. Small foam brush (craft store) 5. Fingers or the whole hand to make print (your house) 6. Newspaper to put down on the table as you work on the project 7. Baby wipes for hands or feet after done with each print Directions: 1. First, if your potholder has a little loop on it, be sure to put it on the top in case the person who receives the gift wants to hang it. Paint the hand (or foot) using the foam brush, then press on the pot holder. You will use less paint, get the paint on evenly, and experience less of a mess by doing it this way. If you are quick, you can get a couple of prints done before you should wipe off the paint. Cleaning the is not too bad as long as you don't leave it on for too long. After paint is on the hand, take the hand, press down nice and firm, then lift straight up. Let that dry just a bit and then you can go back and write the name and age, or whatever you like. Be sure to leave the pot holder flat to dry. A cute, personal and inexpensive gift to give grandma! You can even attach a cookie cutter to finish it off! Find the snowflakes here.

