Cookiecutter.com Ramblings
Making memories one cookie at a time!
When the finish is better than the start!
I’ve been itching to make some hot air balloon cookies. About a month ago we had some local cookiers come in and take a tour of our warehouse and see how we make cookie cutters. Each one of them got to make their own hot air balloon cookie cutter. I think the general consensus was they had an absolute blast getting to see how the cookie cutters were made by hand, and then making one themselves. A good time was had by all.
A few of them have made hot air balloon cookies since that time, so that is what inspired me to want to make my own. Here is where I have to preface and say that all of them are amazing cookie decorators! I have a loooonnnnggg way to go before I can even call myself proficient in cookie decorating. I often joke that I can roll out and bake the cookies all day, but when it comes to decorating the cookie, the picture in my mind is ALWAYS better than what comes out :)
The day I made these cookies we have a break in the heat here in Kansas City. As I type, it is a mere 91 degrees. Not too hot for the oven to finish up a couple of trays of cookies. Seize the moment, right? Fortunately for me, my daughter Kala was available to help out a little too.
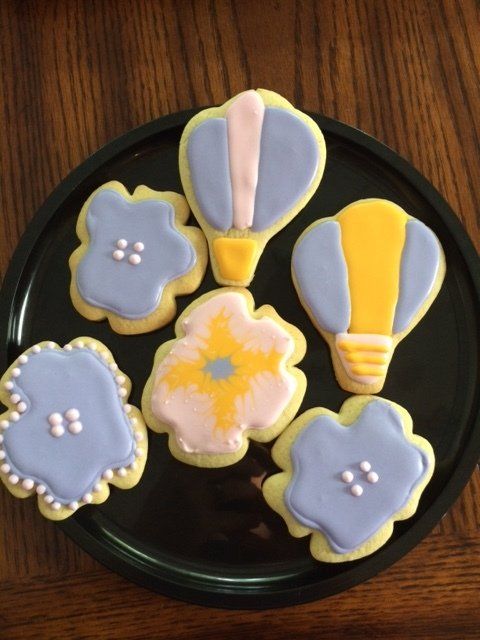
In addition to the hot air balloon cookies, I decide to make a few hibiscus cookies as well. Quite honestly, I chose that shape for two reasons; one because that shape is a smaller cutter and would make more cookies and two, because I had some leftover pink in the fridge from the previous cookie endeavor. I was pretty proud of myself for having my tubs of royal icing mixed up the previous night. My cookie friend over at Sweet & Saucy Life told us at the last class I took, that the colors really do better if they are mixed up the day before they are used. You might want to check her website out for her new virtual cookie club she has started! I just signed up this past weekend for it. You can find it here.
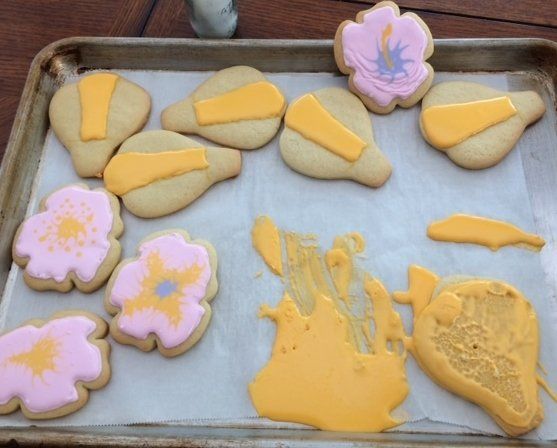
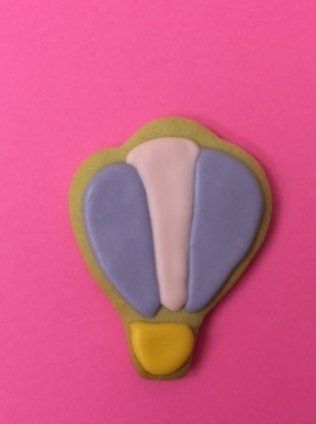
The colors I chose to use were, lavender, pink and yellow. Well, it was supposed to be yellow. I messed around with the color too much and it ended up being Nacho cheese color. When I was getting the tubs of RI out, Kala actually voiced that my "yellow" looked like Nacho cheese. I laughed out loud and still let her help me decorate. Again, I have a long way to go with my decorating skills, which heavily involve mixing my colors. I should have stayed with the pale yellow that I started with, but I often go too far and then end up being sorry. Oh well! I think overall, the nacho cheese color was tamed down by the violet and pink that I paired with the hot air balloons. Fortunately, the color does not affect the taste! Aren’t we all glad about that?
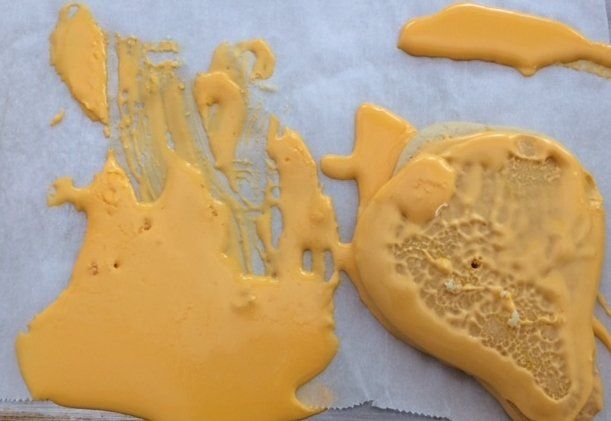
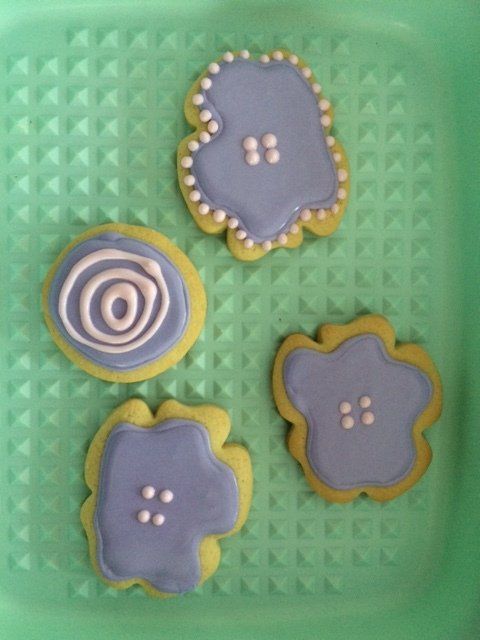
Today, in addition to showing off my Nacho Cheese color, I wanted to demonstrate how the cookies can really start off looking bad, ugly, whatever; they can really turn around quickly by the time they are all done. You can see the progression of the pictures at the end of this blog.
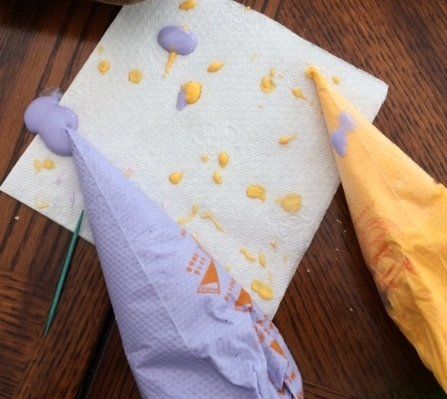
Another thing I wanted to share or confess, is the over filling of my tip less bag problem. For some reason, I feel like I can save time by filling those bags to the brim. Just take my advice, do not think you will save time later by filling them all the way! I always forget to save some room so I can tie them off. What do I do to try to fix my mistake? Aka : Make it work? I twist my bag, then fold it over and use a chip clip. Folks, that does not work! As Kala experienced, it will eventually explode and then you will need to make a RI sandwich cookie, as you can see with the hot air balloon cookie in the right hand corner of the cookie sheet. Sigh…..I eventually got the icing transferred into another bag, and went along my way. Shortcuts rarely are worth it.
All in all, I liked the way the cookies turned out. I definitely love our hot air balloon cookie cutter, so that has not changed. I still like using the new brand of Chefmaster food color gel. Love the colors and have no problems with them. Another tool that I use alot to pop my airbubbles is the PME Scribe Needle Tool. I also use it to help spread my icing over when it needs a little help.
So, what have you been doing lately? Hope you have been entertained by my post today. Hoping to inspire you and remind you that not all cookies turn out perfect. Nor do the attempts at making them. Progress is always good :)
Make some memories~ Tammy